

概要
PythonのスクリプトでAPBLE001-RSを使い、電子天秤からデータを取得し、表示する手順を示します。
Raspberry Pi 4にRaspberry Pi OS 64bit Liteをインストールしたものと、Windows10をベースに説明します。
今回説明で使用致しますAPBLE001-RSは、以下のリンクからご購入いただけます。
Raspberry Pi4での例
Raspberry Pi4の初期設定(PySerialやudev)
今回、Raspberry Pi4にRaspberry Pi OS(64bit) LiteのApril 4th 2022版をインストールしたものを前提に進めます。特殊なことはしていないので、Raspberry Piの種類やOSのバージョンが違っていても、ほとんど変更なく動作すると思います。
インストール直後は、
sudo apt -y update
sudo apt -y upgrade
として、OSを最新の状態にしておきます。次に、PythonでUSB COMポートを使用するため、PySerialをインストールします。
sudo apt install -y python3-pip
sudo pip3 installl pyserial
次にudevの設定をします。
sudo sh -c "echo 'KERNEL==\"ttyACM*\", ATTRS{idVendor}==\"13d6\", ATTRS{idProduct}==\"0109\", SYMLINK+=\"ttyAPBLE\"' >> /etc/udev/rules.d/90-apble.rules"
これでAPBLE001-PCをRaspberry PiのUSBコネクタに挿入した際に、決まった名前(ttyAPBLE)で参照できるようになります。
APBLE001を使用した電子天秤との接続
今回、A&Dの電子天秤FX2000iを使用しました。コマンドが同じならば、A&Dの他の機種の電子天秤でも動作します。
Raspberry Pi4のUSBコネクタにAPBLE001-PCを挿入、電子天秤FX2000iのRS232CコネクタにAPBLE001-RSを挿入します。ペアリングされていれば、どちらも緑色のLEDが点滅します。通常、出荷時にペアリングされています。もし、ペアリングされていない場合には、APBLE001-PCのスイッチを長押しし、LEDがオレンジ点灯状態にしてから、APBLE001-PCのLED状態を見ながらAPBLE001-RSのスイッチを長押しし、LEDが点滅を始めたらスイッチを離します。緑点滅になればペアリング成功です。
単発測定Pythonスクリプト
呼び出すと1回だけ重量測定結果を取得し、電子天秤のシリアルコードと一緒に表示するPythonのスクリプトです。
# coding: utf-8

import serial
import time

def openser():
    try:
        ser = serial.Serial(port='/dev/ttyAPBLE', baudrate='2400',
                            bytesize=serial.SEVENBITS,
                            parity=serial.PARITY_EVEN,timeout=0.5)
    except Exception as e:
        print(e)
    return ser

def get_serial_number(ser):
    serial_number = ""
    try:
        ser.write(b'?SN\x0d\x0a')
        line = ser.readline()
    except Exception as e:
        print(e)
        return serial_number
    if len(line)==13 and line != b'':
        line = line.rstrip()
        try:
            serial_number = line[3:11].decode()
        except Exception as e:
            print(e)
    else:
        print(line)
    return serial_number

def measure_single(ser):
    status = ""
    weight = ""
    unit   = ""
    try:
        ser.write(b'Q\x0d\x0a')
        line = ser.readline()
    except Exception as e:
        print(e)
        return status,weight,unit
    if len(line)==17:
        line = line.rstrip()
        try:
            status = line[0:2].decode()
            weight = line[3:12].decode()
            unit   = line[12:15].decode()
        except Exception as e:
            print(e)
    else:
        print(line)
    return status,weight,unit

if __name__=='__main__':
    serial_number = ""
    while serial_number=="":
        ser = openser()
        time.sleep(1)
        serial_number = get_serial_number(ser)

    status = ""
    while status !="ST":
        status,weight,unit = measure_single(ser)
        time.sleep(1)
    print(serial_number,status,weight,unit)
    #print(serial_number) # 電子天秤のシリアル番号
    #print(status)        # 測定状態(ST:安定)
    #print(weight)        # 重量測定値
    #print(unit)          # 測定単位
    ser.close()
上記をコピーして、balance_single.pyというファイルを作成し、実行すると以下のようになります。順に天秤のシリアル番号、測定状態、測定値、重量単位が表示されます。測定状態に関しては、安定(ST)で無い場合は測定を繰り返しているので、必ずSTになります。
pi@raspberrypi:~ $ python3 balance_single.py
00015827 ST +00020.33   g
pi@raspberrypi:~ $
Windows10のコマンドラインアプリ例
Windows10の初期設定
WindowsでPythonを動作させる環境は複数あるので、今回ご紹介するのは、そのうちの1つになります。特殊なことは行っていないので、Windows11でも同様に動作すると思います。
まずMicrosoftStoreを起動してPythonを検索します。
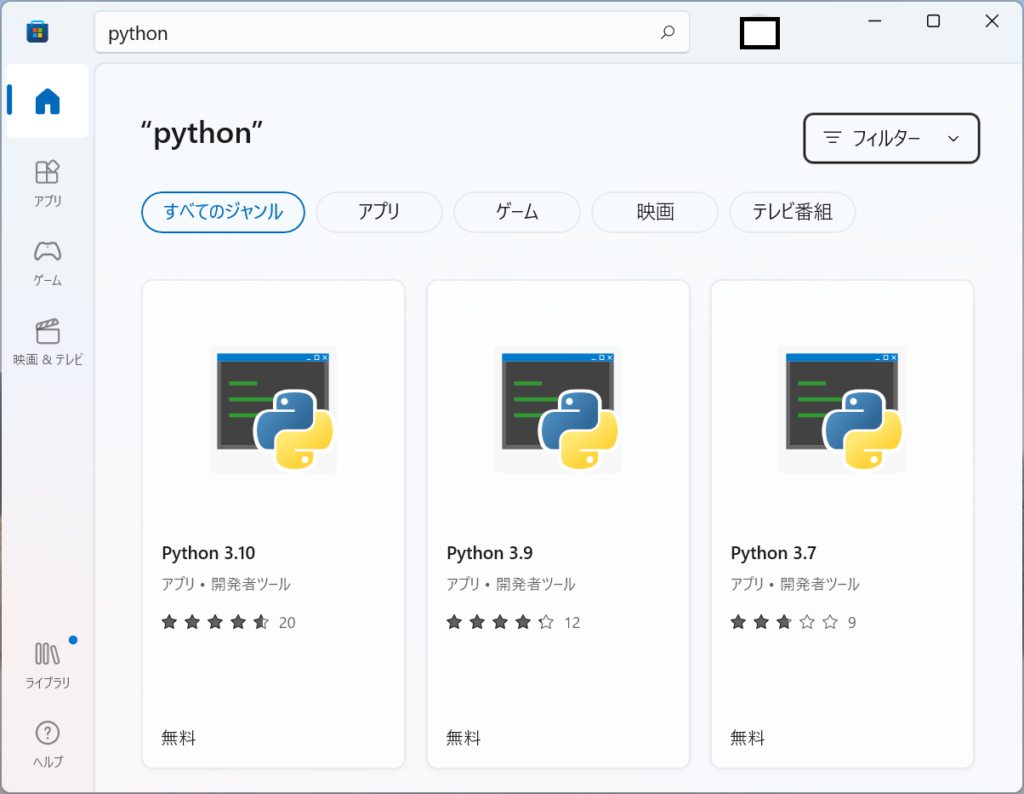
とりあえず2022年7月の時点で新しいPython3.10を選択し、インストールします。
Pythonのインストールが終了したら、コマンドプロンプトを起動して、
pip3 install pyserialPyserialをインストールします。
APBLE001を使用した電子天秤とWindowsPCの接続
今回、A&Dの電子天秤FX2000iを使用しました。コマンドが同じならば、A&Dの他の機種の電子天秤でも動作します。
WindowsPCのUSBコネクタにAPBLE001-PCを挿入、電子天秤FX2000iのRS232CコネクタにAPBLE001-RSを挿入します。ペアリングされていれば、どちらも緑色のLEDが点滅します。通常、出荷時にペアリングされています。もし、ペアリングされていない場合には、APBLE001-PCのスイッチを長押しし、LEDがオレンジ点灯状態にしてから、APBLE001-PCのLED状態を見ながらAPBLE001-RSのスイッチを長押しし、LEDが点滅を始めたらスイッチを離します。緑点滅になればペアリング成功です。
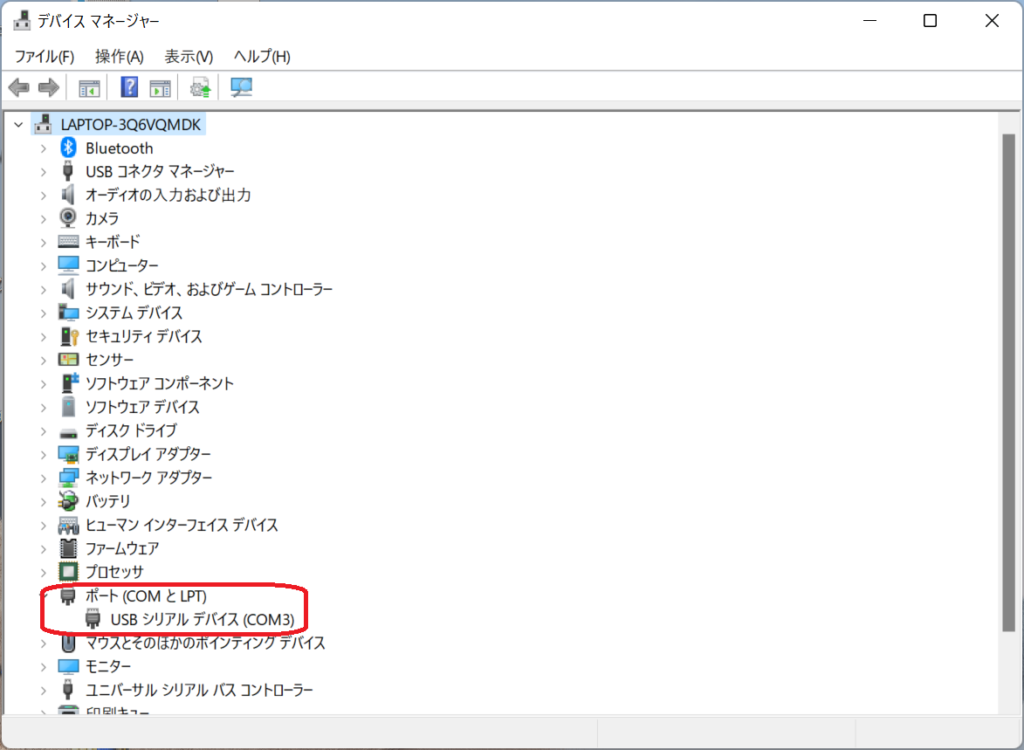
WindowsPCにはじめてAPBLE001-PCを挿入した場合には自動的にドライバがインストールされます。ドライバのインストールが終了するとCOMポート番号が表示されるので、記録しておいてください。不明な場合はWindowsのスタートアイコンを右クリックしてデバイスマネージャを起動してCOMポート番号を確認してください。
単発測定Pythonスクリプト(Windows用)
呼び出すと1回だけ重量測定結果を取得し、電子天秤のシリアルコードと一緒に表示するPythonのスクリプトです。Raspberry Pi用との違いはポートの指定がデバイスファイルになっているか、COMポートになっているかだけです。WindowsでもPythonをCygwinのようなUNIX環境で動作させている場合はデバイスファイル指定になります。
# coding: utf-8

import serial
import time

def openser():
    try:
        ser = serial.Serial(port='COM3', baudrate='2400',
                            bytesize=serial.SEVENBITS,
                            parity=serial.PARITY_EVEN,timeout=0.5)
    except Exception as e:
        print(e)
    return ser

def get_serial_number(ser):
    serial_number = ""
    try:
        ser.write(b'?SN\x0d\x0a')
        line = ser.readline()
    except Exception as e:
        print(e)
        return serial_number
    if len(line)==13 and line != b'':
        line = line.rstrip()
        try:
            serial_number = line[3:11].decode()
        except Exception as e:
            print(e)
    else:
        print(line)
    return serial_number

def measure_single(ser):
    status = ""
    weight = ""
    unit   = ""
    try:
        ser.write(b'Q\x0d\x0a')
        line = ser.readline()
    except Exception as e:
        print(e)
        return status,weight,unit
    if len(line)==17 and line != b'':
        line = line.rstrip()
        try:
            status = line[0:2].decode()
            weight = line[3:12].decode()
            unit   = line[12:15].decode()
        except Exception as e:
            print(e)
    else:
        print(line)
    return status,weight,unit

if __name__=='__main__':
    serial_number = ""
    while serial_number=="":
        ser = openser()
        time.sleep(1)
        serial_number = get_serial_number(ser)

    status = ""
    while status !="ST":
        status,weight,unit = measure_single(ser)
        time.sleep(1)
    print(serial_number,status,weight,unit)
    #print(serial_number) # 電子天秤のシリアル番号
    #print(status)        # 測定状態(ST:安定)
    #print(weight)        # 重量測定値
    #print(unit)          # 測定単位
    ser.close()
上記例では、ポートをCOM3にしていますが、環境によって異なるので自分のPCでのCOMポート番号を確認して、変更してください。